

If your cream contains too many air bubbles, first find out where they enter: inside the mixer, during transfer, or at the filling nozzle. Then check the pressure record, liquid level and mixing sequence at that stage. Turning down the homogenizer or replacing the vacuum pump before making this distinction can leave the real problem untouched.
This guide is for production, quality and maintenance teams working with cosmetic creams and lotions. It covers the checks that narrow the fault, a mechanical-seal repair case, and the records needed to confirm that the next batch is ready for filling.
Start Here: Where Do the Bubbles First Appear?
Compare samples from the same batch at three points: the mixer outlet, after transfer, and after filling. Use the normal approved sampling method. A sample taken by whipping a spatula through the cream can introduce the very bubbles you are trying to trace.
| What you find | Where to start | First useful check |
|---|---|---|
| Bubbles already present in the tank sample | Mixing, addition and deaeration | Compare liquid level, pressure, temperature and sequence with a successful batch |
| Tank sample looks normal; transfer sample contains air | Pump and transfer line | Check inlet supply, suction connections, hose condition and return position |
| Transfer sample looks normal; filled jars contain bubbles | Filling stage | Observe the nozzle stream, start/stop behavior and filling height |
| Jars develop holes or sink after standing | Residual air and product changes after filling | Compare bubbles with cooling shrinkage, crystallization and other quality findings |
Example investigation plan: collect five comparable samples at each of the three points, giving fifteen samples. Label the batch, point, time and temperature. This is a practical screening exercise, not a release sampling standard. Quality should set the actual sampling plan and observation period.
If the defect starts after transfer, investigate that stage first. The broader product-quality troubleshooting approach follows the same rule: locate the change before choosing the repair.
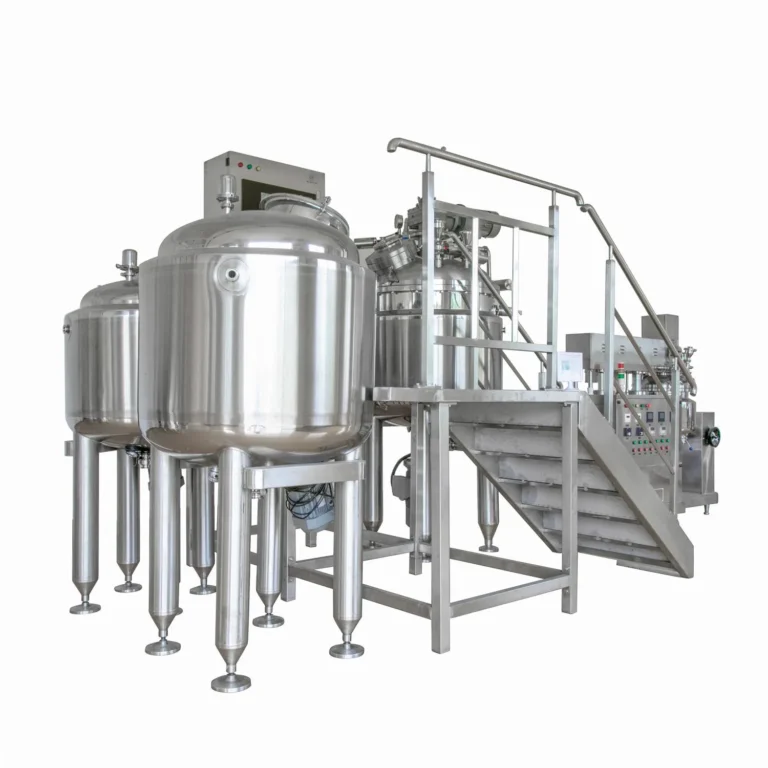
Common Symptoms: Air Bubbles Are Not the Only Explanation
Surface foam is a layer of bubbles at the top. Entrained air means bubbles held within the cream. A spatula cut may reveal these internal bubbles even when the surface looks smooth.
Other signs include an unusually large apparent batch volume, gaps in the filling stream, or lower mass in a fixed-volume sample. Record these observations together. Gloss loss, roughness and graininess alone are weaker evidence because crystallization, incomplete dispersion and emulsion changes can produce similar defects.
A jar that sinks after cooling also needs more than a longer vacuum cycle. Check the filling temperature and the product’s structure as it cools. For products with substantial wax content, the hot-filling and cooling discussion explains why shrinkage deserves a separate check.
A Simple Density Comparison
Illustrative calculation: a properly deaerated reference cream weighs 105.0g in a calibrated 100mL cup at the test temperature. A suspect sample of the same composition weighs 98.0g in that cup. Their apparent densities are 1.050g/mL and 0.980g/mL.
The estimated air volume fraction is 1 − (0.980 ÷ 1.050) = 6.7%, assuming the difference comes only from air, with negligible air mass. Check temperature, composition, cup filling and surface leveling before using that estimate. It is a diagnostic calculation, not a finished-product acceptance limit.
This also explains why a volumetric filler may deliver the expected volume but a lower product mass. The comparison of filling methods helps separate the dosing method from changes in the material being dosed.
Equipment Problems: Check Actual Vacuum Performance
Read the Pressure at the Right Stage
Write down the pressure during addition, homogenizing, cooling and final deaeration. A good reading at startup says little about the rest of the cycle. Include the product temperature and valve state so the readings can be compared with a previous successful batch.
Also identify the unit and reference. A gauge-pressure reading is relative to local atmospheric pressure; an absolute-pressure reading is relative to a perfect vacuum. At an assumed atmospheric pressure of 101.3kPa, −0.055MPa gauge equals approximately 46.3kPa absolute. Mark the reference on the batch sheet instead of writing only “vacuum: 0.055.”
If the display jumps or conflicts with other observations, verify the measurement before changing the recipe. The instrument-reading case study illustrates why an unstable indicated value needs its own investigation.
Separate a Running-System Problem from a Hold Test
A pressure rise while processing can reflect an air leak, released gas, evaporation, changing temperature or inadequate pumping capacity under that load. It does not identify a leaking seal by itself.
A planned vessel hold test uses a defined boundary isolated from the pump, with the contents and temperature controlled and recorded. Simply switching off a pump may leave a path for gas to return. Follow the installed valve arrangement and test procedure; the vacuum-loss guide explains this distinction in more detail.
If the system is weak even under its specified clean test conditions, investigate the pump, line restrictions, valves and measurement. If those checks pass but a hot batch produces a high gas load, examine the process conditions too. A deeper vacuum can increase evaporation and foam expansion.
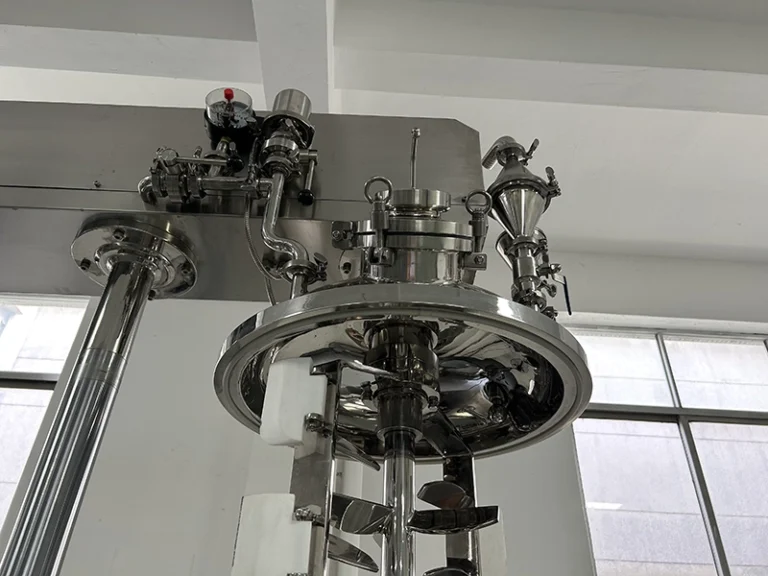
Inspect the Sealing Boundary
Review the lid gasket, sight glass, instrument ports, valves, shaft seals and vacuum connections. A seal can admit air under vacuum without leaving an obvious product drip outside. The absence of a visible leak is therefore useful information, but not a complete sealing test.
Before opening or touching internal parts, stop and isolate the equipment, equalize pressure, control stored energy and support raised components as required by the maintenance procedure. Keep this hands-on work with qualified personnel.
Recommended Equipment


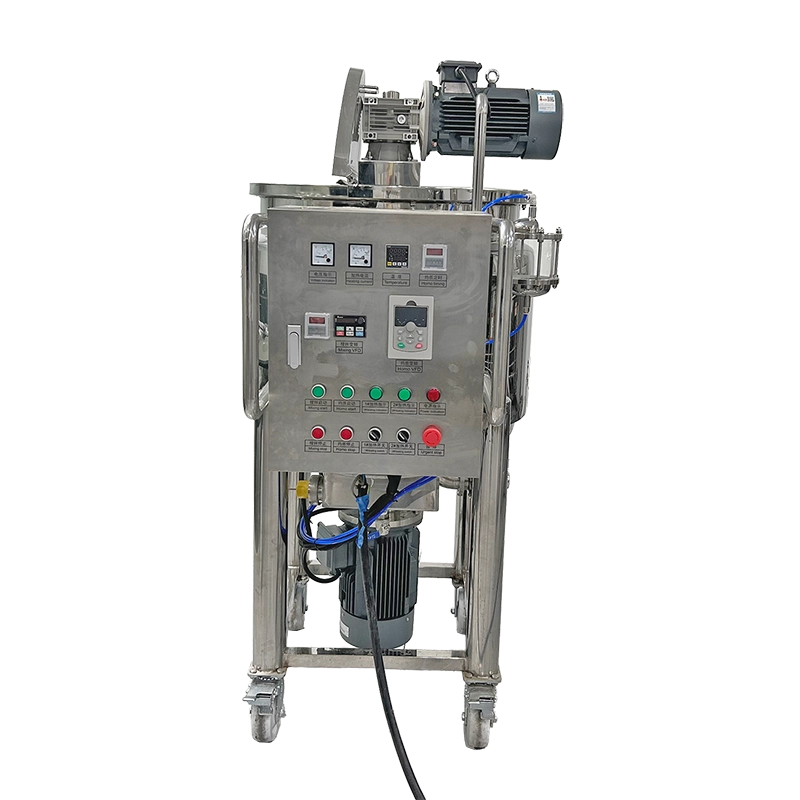
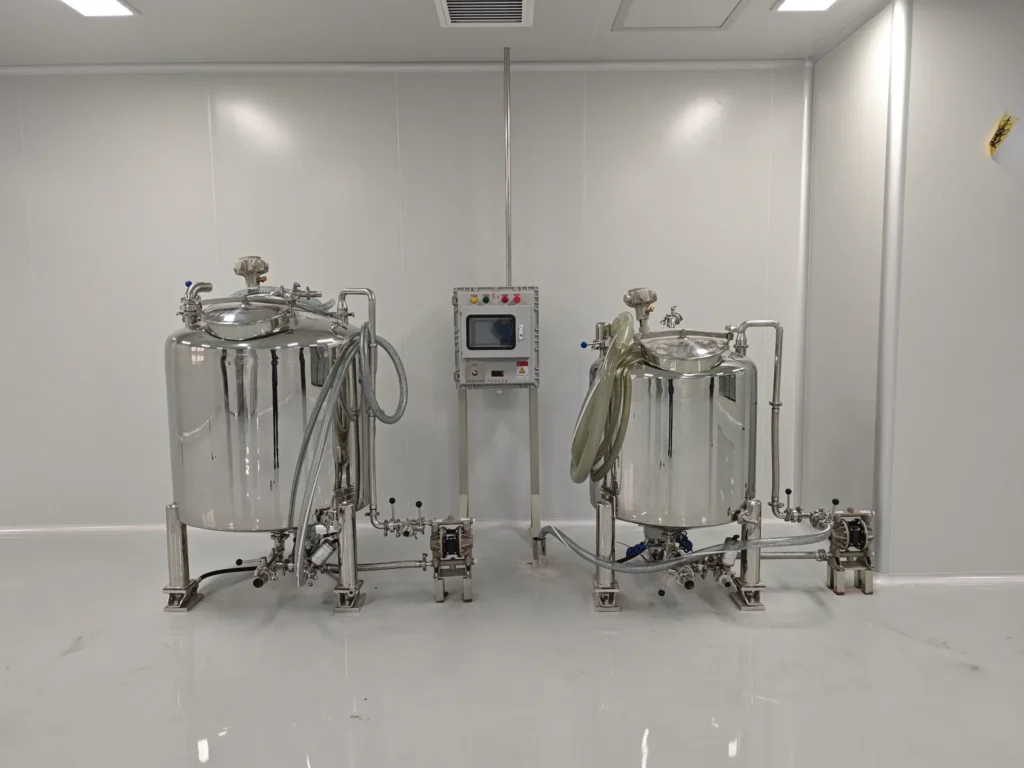
On a lifting mixer, check even lid seating as well as gasket condition. The lid-alignment case shows why a sound gasket can still seal poorly when its mating surfaces do not meet correctly.
Check the actual mechanical-seal arrangement and its support services. A water-supported seal needs the specified supply and return conditions; jacket cooling serves a different purpose. The mechanical-seal cooling case and recirculating cooling-water project are useful when reviewing those connections.

Maintain the Pump You Actually Have
Read the pump nameplate before adding “change vacuum oil” to the checklist. Oil-sealed pumps, liquid-ring pumps and dry pumps have different service needs. Record the pump type, its required services and the condition found during inspection.
Keep the pump and mixer records together in the equipment maintenance log. A gradual change in pull-down behavior is easier to spot against a known baseline than from one isolated reading.
Process Problems: Stop Introducing Air While Trying to Remove It
Check Liquid Level and Flow Before Reducing Speed
Look for a surface funnel reaching toward the mixing zone, an exposed workhead, splashing returns or a feed stream falling through the headspace. These are more direct clues to air entry than motor speed alone.
High shear is needed to form many cream emulsions. Reducing it too far can leave poor dispersion or an unsuitable droplet size. First correct the air path, then compare the speed and time with the successful recipe.
A bottom-mounted workhead needs enough product above it and an effective circulation pattern. This matters when planning a trial on a 100L button-control vacuum mixer or another production vessel: the smallest possible test is not always a valid working batch.
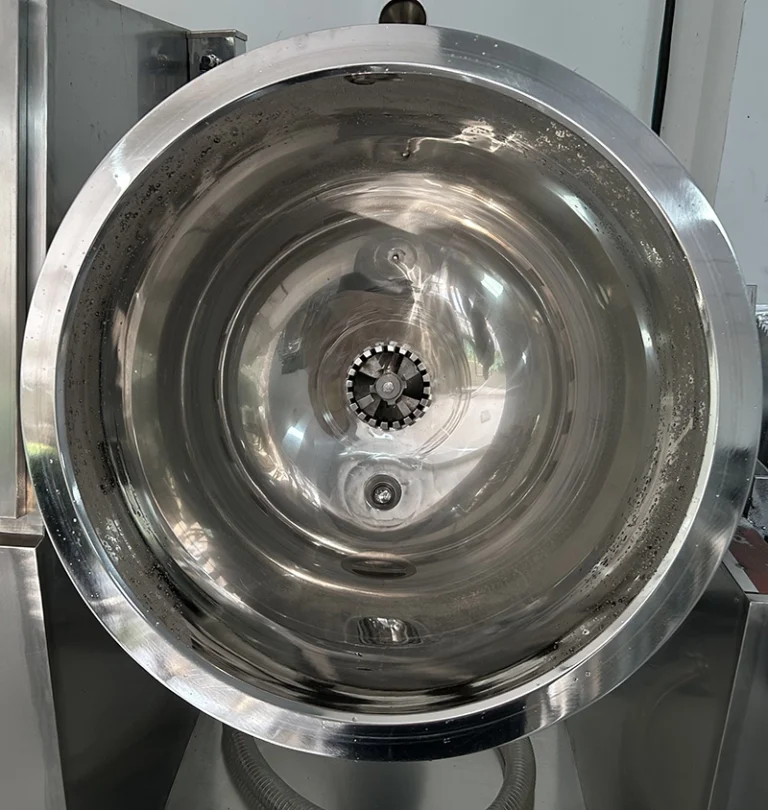
Rotor/stator wear should be checked against the assembly specification when mixing performance changes. Worn clearance can impair emulsification, but it does not automatically explain where air entered. Inspect it after the faster pressure, level and sequence checks unless there are signs of mechanical damage.
Give Bulk Mixing and Homogenizing Different Jobs
The slow agitator moves material around the vessel and supports heat transfer. The rotor/stator applies local high shear. Increasing both speeds together can hide which change helped and which created a new problem.
Check wall turnover, scraper condition and stagnant regions. Use the internal and external circulation review to assess how product reaches the mixing zone. A poor flow pattern may require a circulation change rather than simply more motor speed.
Finish Deaeration Before the Cream Becomes Difficult to Move
As a cream thickens, bubbles can become harder to move through it. Plan an effective deaeration stage while the formulation still allows useful circulation. Set the temperature and agitation together, then check the result.
Do not automatically slow the entire cooling cycle. Cooling also affects wax crystallization, texture and cycle time. Record the heating and cooling arrangement described in the heating-system comparison, and adjust the product recipe from actual batch results.
For a practical trial, compare the existing approved process with one controlled change, such as an additional final deaeration interval at the approved temperature. Keep the remaining settings fixed. Agree the interval and endpoint before the trial so “looks better” is not the only result recorded.
Release Vacuum Deliberately
Complete the deaeration stage, then use the equipment’s controlled venting and discharge sequence. A conventional gravity outlet may need the vessel brought back toward atmospheric pressure. A dedicated vacuum-transfer system uses a different arrangement.
Vent gently through the intended connection and maintain any required air quality. Avoid directing an incoming gas jet into the cream. There is no need to keep every vessel under vacuum until it is empty, and the difference between a closed tank and a vacuum-rated process should remain clear.
Formula and Feeding Problems
Powders Carry Air
Powder contains air between particles. Surface addition, poor wetting and an empty suction hopper can all add to the load. Review the feed rate, addition point and the moment the powder valve closes.
Liquid-surface and below-surface feeding need different techniques. A suitable vacuum induction system can reduce aeration and improve wetting, but it still needs control when the hopper empties. Do not retrofit a bottom connection without reviewing the vessel, valves, cleaning access and operating sequence.
Thickeners and Emulsifiers Need Their Own Addition Plan
Carbomer hydration and neutralization can raise viscosity sharply. If substantial air enters before that change, later removal becomes harder. Follow the ingredient supplier’s dispersion instructions and compare the sequence with a successful batch.
Related Solutions


Lower speed throughout powder dispersion is not automatically the answer: inadequate wetting can leave agglomerates. Likewise, changing emulsifier concentration to solve bubbles may change emulsion stability and skin feel. The oil-in-water and water-in-oil guide provides the formulation context for that decision.
Watch Foam, Volatile Ingredients and Unexpected Gas Separately
Some surfactant systems stabilize foam. Vacuum initially expands existing bubbles, so the product can rise rapidly before the gas escapes. Keep the specified headspace and observe the response through the intended viewing point.
Fragrance and other volatile ingredients may be lost during prolonged vacuum exposure. Plan their addition with the formulation team, using the fragrance and active-ingredient addition review where relevant.
New gas formation, swelling containers or unusual odor should go to quality for investigation. Repeated deaeration cannot establish that a suspect product is safe or stable.
Transfer and Filling Can Put Air Back In
If the tank sample passes but the next sample does not, inspect the path between them. Check whether the pump inlet stays supplied, whether a suction connection admits air, and whether the return splashes onto the product surface.
The pump-selection guide helps match the transfer arrangement to viscosity, flow and inlet conditions. For a portable rotary lobe transfer pump, hose routing, inlet supply and speed belong in the check alongside the pump itself.
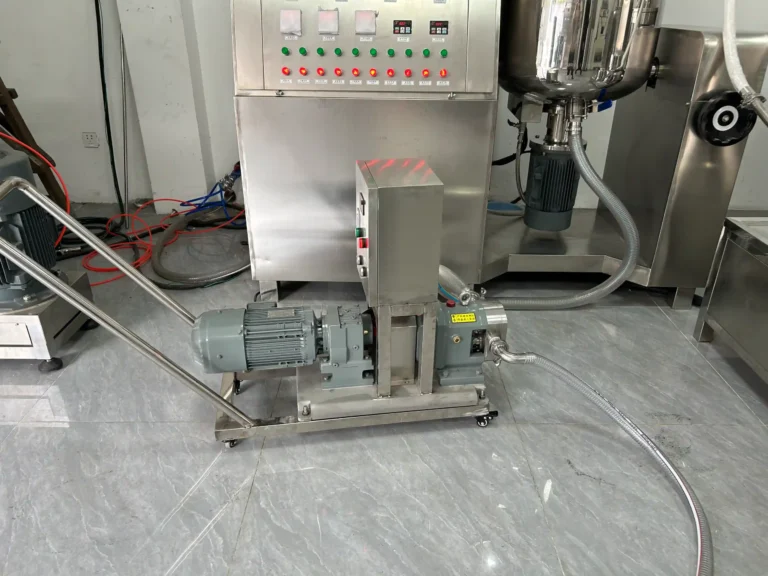
At the filler, observe the start of the shot, the main stream and shutoff. A long fall, intermittent feed or air left in the product path can produce different bubble patterns. Adjust the filling profile and nozzle position within the machine’s capabilities, then compare samples.
A two-head rotor-pump filler with an agitated hopper also needs a review of hopper level and agitation. Keeping product moving should not create a funnel that draws air into the feed.
Record net mass as well as appearance. Use the filling-accuracy test method to separate inconsistent dosing from a change in cream density. Recalibrating a filler around an aerated batch can conceal the problem for the next normal batch.
Real Customer Case: A Leaking Homogenizer Seal
A skincare contract manufacturer reported several consecutive batches with surface foam and a rougher finish. The same formulation had previously run successfully. The customer’s quality team reviewed the recipe and raw-material records, while maintenance checked the visible hoses, fittings and lid seal.
The useful clue was the pressure record: the mixer reached only about −0.055MPa gauge, below the vacuum performance required by that customer’s process. The investigation traced the air entry to the mechanical seal around the homogenizer shaft. There was no obvious external drip to draw attention to it.
The technician replaced the failed seal. The process team also adjusted the homogenizer settings and extended the vacuum holding stage. A verification batch produced smooth cream with no visible bubbles, and production resumed. Around a month later, the customer reported no recurrence of the same complaint.
The repair and process adjustments were made together. That result supports the combined correction; it does not tell us how much improvement came from each change. The practical lesson is clear: log actual pressure and confirm sealing before compensating for a mechanical fault with a longer recipe.
A Practical Troubleshooting Sequence
- Locate the first affected stage. Compare labeled tank, transfer and filled-product samples without aerating them during collection.
- Recover the successful baseline. Compare the recipe, raw-material lots, batch quantity, sequence and recent maintenance with a good batch.
- Verify the measurements. Record pressure reference, units, product temperature and process stage; investigate doubtful instruments.
- Review vacuum performance. Separate pull-down, running pressure and a planned isolated hold test. Record the test boundary and conditions.
- Inspect the equipment safely. Qualified personnel check seals, lid contact, valves and mixing parts under the isolation procedure.
- Check air-entry paths. Review liquid level, circulation, powder-valve closure, pump supply and filling behavior.
- Make a controlled correction. Document the confirmed fault and approved repair or recipe change. Set the verification criteria first.
- Verify and release. Run a suitable working batch, compare the same sampling points, and obtain quality approval before routine production resumes.
A laboratory check can help screen a formulation change. A 20L laboratory vacuum mixer provides a controlled trial platform, but a successful small batch still needs production confirmation. The scale-up guide explains why matching RPM alone does not reproduce the same flow and shear.
Decision Guide
What to Record Before Calling the Batch Fixed
| Record | Useful detail |
|---|---|
| Batch and material | Formula version, lot numbers, actual batch mass and temperature |
| Vacuum | Gauge or absolute reference, process-stage readings, hold-test boundary where tested |
| Mixing and addition | Agitator and homogenizer settings, timing, liquid level and addition sequence |
| Product checks | Bubble appearance, fixed-volume sample mass, fill mass and required quality results |
| Observation period | Immediate checks and the agreed follow-up at comparable storage conditions |
| Correction and approval | Parts changed, recipe revision, verification outcome and release authorization |
Agree what “acceptable” means before the trial. For example, a visual check might specify no visible voids in a defined spatula cut under agreed lighting. A density check needs a method and an approved reference range. Neither replaces the product’s other release tests.
Prevention: Make the Successful Process Easy to Repeat
Store the approved recipe, define who can change it, and keep the actual batch record. A PLC can help repeat speeds, timing and temperatures when those functions are included in its scope. It cannot recognize every formula change or compensate for a leaking seal by itself.
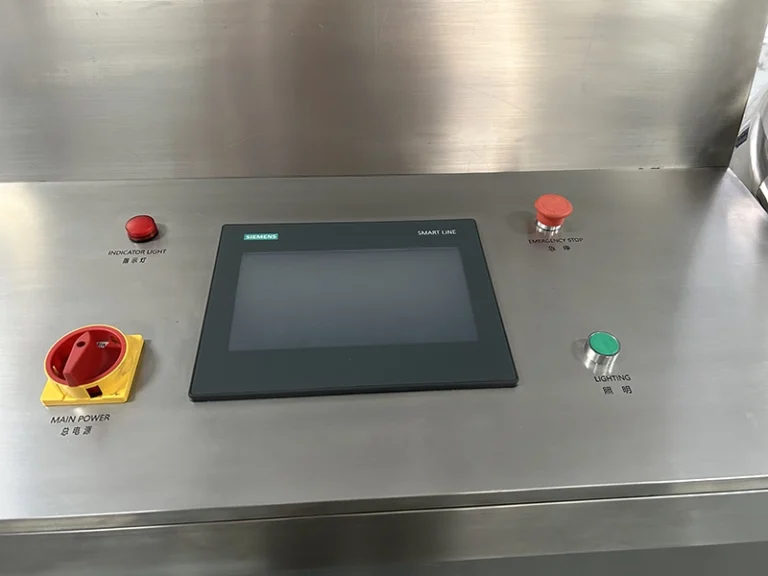
Set maintenance around observed wear and the installed component instructions. Include lid seals, shaft seals, vacuum lines, scraper condition and pump services. Record condition and action rather than ticking “checked” with no detail.
After maintenance, verify the disturbed connections and complete the required cleaning before production. The CIP and manual-cleaning comparison helps define that work. A spray ball alone does not establish that the complete vessel, seals and transfer path have been cleaned.
For new equipment, put vacuum operation, minimum working batch, venting, powder addition, transfer and verification requirements in the specification. Automatic pressure control, data logging and CIP provision should each have a stated scope.
How StriversMachinery Can Help
Our starting point is the batch evidence: where bubbles first appear, what changed, and what the pressure record shows. We manufacture core mixing equipment and coordinate complementary transfer and filling equipment with long-term partner factories. That lets the review follow the product beyond the mixer outlet.
Send the machine nameplate, pump type, current recipe stages, batch quantity, pressure readings and labeled sample photographs to [email protected]. Include the same records from a successful batch if available. We can then discuss whether the next step is a component inspection, a process trial or a change to the transfer and filling arrangement.
Technical References
- Leybold: Definition and Measurement of Vacuum Leaks — pressure-rise testing, gas loads and leak assessment
- ROSS: Benefits and Techniques of Vacuum Mixing — process monitoring, volatile ingredients and controlled vacuum release
- Silverson: How Can I Mix Without Incorporating Air? — circulation and mixer arrangement
- Silverson: Powder/Liquid Mixers — powder induction and empty-hopper valve control
- HSE: Maintenance of Work Equipment — isolation and stored-energy precautions for maintenance


